Using Zebras for correct exposure
One of the trickiest aspects of video filming and one that is done badly by a remarkable number of people even on network television it seems, is getting exposure right. That’s because exposure can be tricky unless you’re shooting in perfectly controlled conditions such as a studio where every light can be minutely controlled and there’s time to adjust the set. Outside of that environment, exposure can be a bit hit and miss (imagine if you will, when the sun comes out from behind a cloud – suddenly your perfectly set up shot becomes wildly over-bright)
Don’t fall into the trap of thinking the solution is just looking more carefully at the image on the camcorder’s viewfinder or LCD screen. Not only can these be set bright or dark independently of what’s actually being recorded but the ambient light around you when filming can make the image on them look brighter or darker than it really is too.
For this reason, camcorder manufacturers have long included clever tools to help the cameraperson with getting exposure right. These tools include waveform monitors (WFM), histograms and zebras. In this article we’ll describe what the latter is and how to use it.
In detail
Zebras are black and white striped patterns that are superimposed onto the picture in the camcorder’s viewfinder on any area of the image that’s within a set band of exposure.
Typically camcorders offer one or two preset levels for the zebras to kick in based on industry standards. These are around 70%, used for exposing caucasian faces correctly; and 100%, as a warning that the picture is about to become overexposed and the highlights clipped.
So what do we mean by 70% or 100% anyway? Well, digital camcorders record the image as a series of numbers, just like all digital devices do. Those numbers represent the brightness of each dot (pixel) making up the recorded image. That brightness get be thought of as 0% when it’s totally dark or black, and 100% when it’s as bright as it can possibly be.
Going All The Way
The 100% zebra pattern indicates that the recorded pixels are at their maximum value. If you were to turn the camcorder’s exposure up further then because the pixels can’t go any higher than 100% but you’re turning up the brightness, detail in the image will start to be lost. Once recorded like this, it can never be regained. It’s similar to recording sound too loudly; once audio has been captured too as distorted, it can’t be brought back as “undistorted”.
To put it even more simply, imagine counting to 10 on your fingers. Now try to count 11 … or 12 … and you can’t! The maximum is 10. Any detail above 10 simply gets lost forever because it’s recorded as just 10 (we are assuming in this example that you’re not some clever chap who counts in binary on their fingers and can therefore go up to 1023…)
Seeing the zebra pattern on your screen if it’s set to 100% is thus a big warning flag that your image is about to be recorded too bright and the exposure should be reduced.

Exposure in black and white
The other major use for zebras is to set the correct exposure for faces, for example when filming an interview or filming a presenter piece to camera (aka “stand up”)
There is a general rule of thumb that white caucasian faces reflect about 70% of any light that falls on them. In exposure terms, that corresponds with 70% brightness of the pixels. So the idea of using zebras set to 70% is to change the camcorder’s exposure settings (f-stop and gain) until the face just starts to show the zebra pattern in the viewfinder and that way you know you’ve got the exposure set correctly. Don’t overdo it – you don’t want the whole face necessarily being zebra’d out. Just a hint of the pattern on the brightest spots (usually the nose & forehead) should do it.
You’re surely wondering what happens for non-white faces and the answer is not so simple. Firstly the whole 70% thing is merely a rough guide because the range of human skin tones means it’s only ever approximate.
This becomes more pronounced with non-white faces because the range of tones means there’s no simple ballpark exposure figure to work on. You have to simply go more by eye, or start by exposing to 70% (which will be vastly overexposed for a dark skin) and then dial the exposure down.
You could also stand in a caucasian person, set the exposure (which will now be correct for the level of light in your environment) and then bring back your darker-skinned guest.
Be careful when relying on zebras to set exposure though. In almost every case, parts of the face you’re filming will be darker than other areas. Imagine, if you will, a bald man in bright sunshine. The top of his head will be bouncing a lot more light off it than the area under his eye sockets which could well be in shadow.
Setting the exposure based on zebras showing on the top of his head will therefore mean only that the top of his head is correct and this is unlikely to be where your viewer’s attention is intended to be drawn. The rest of his face will be too dark.
Instead, turn the exposure dial a bit more until the main portion of his face is just starting to show the zebra pattern – this may well mean the top of his head is overly bright but this is normal! Different areas of your subject WILL be at different levels of brightness. The key is to pick the one you’re actually concentrating on and set the exposure for that.
It’s also best to start off to dark and bring the exposure UP rather than start bright and bring it down as this means you’ll err on the side of underexposed. In that case you can brighten the image up without losing detail during your edit. If, however, you start bright and bring it down, you may still overexpose some parts which as explained above, can never be recovered.
Bells and Whistles
Finally, some camcorders permit you to adjust the levels at which the zebras come on or to have two levels of zebra. In the former case, you might set them to 90% just to give a prior warning that you’re approaching the maximum before you actually get there. In the second case, it means you can use 70% for your interviews and still also have them set to come on at 100% (or 90% or whatever) as an overexposure warning.
In all cases though, the zebra pattern is simply a useful tool. It is not an absolutely rigid rule to which you must stick. Like all tools, it’s there to help but must be used together with your eyes and your experience.
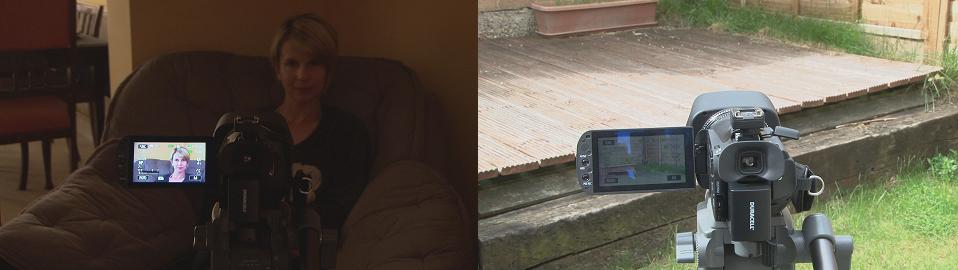
Good luck! Here is our video to show the above tips in practice:
Great article – thank you. I’m using a Canon XA20 and the zebras are the only exposure assistance I have. When not filming people, is it better to have the zebras set to 100 and up the exposure until just below the clipping or use 70 and go just above?
Hi; good question. There’s no “correct” answer to this, it’s more a matter of personal preference and doing a bit of trial and error to see which works for you. Take a day out to try both methods then look closely at the footage afterwards and see which has been exposed best, most of the time.
I dont think your article is accurate or at least may be ambigous for some.
Yes caucasion skin is 70% but in order to accurately expose you should adjust your apeture untill you only get a bare hint of zebras.
Your aritcle reads/looks as if correct exposure is achieved by seeing a zebra’d face which is incorrect.
It’s a fair point; I’ll see if I can re-word it slightly to be more precise. Thanks for the feedback.
I agree, your shot is way overexposed .
And you re wrong, a face especially « very white » should never be totally covered with 70% zebra, u just need a bit of zebra on the most bright areas of your friend face !
I think your camera’s zebra is not accurate so u should not trust it.
Your viewfinder at least look about normal.
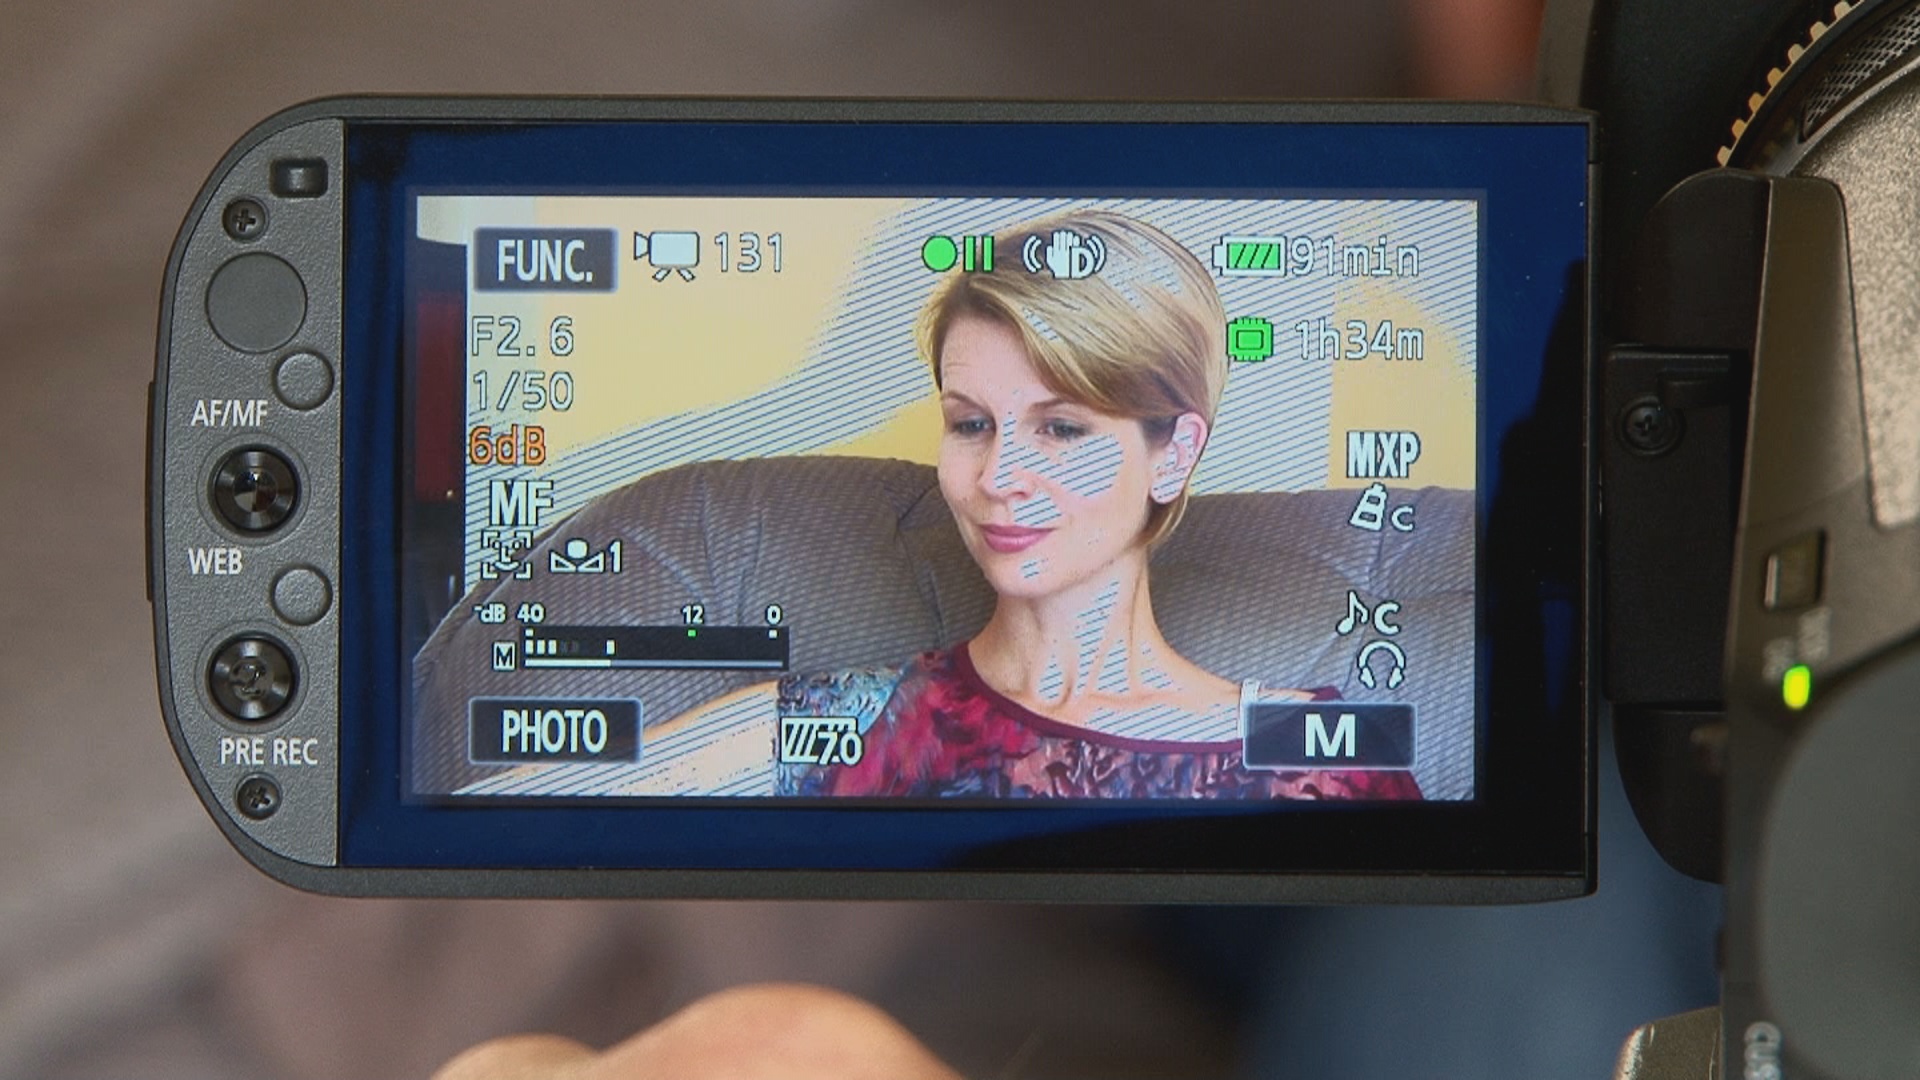
Nonsense. It’s not “way overexposed”. By the time I’d finished explaining and adjusting the exposure to show the differences, there was just a little of the zebra bars showing on Vicky’s face, specifically her nose and the side of her cheek where the daylight was coming in most strongly from the window.
Plus I never said the face should be “totally covered”, you’re misquoting me. If you read the article you’ll see I wrote ” until the face just starts to show the zebra pattern in the viewfinder and that way you know you’ve got the exposure set correctly. Don’t overdo it – you don’t want the whole face necessarily being zebra’d out”. And this is what was shown in the video.
Just got into video with a Canon Legria G25. I have a Lasolite disc which is grey on one side white on the other.
Would a meter reading from the medium grey be a safer option than the Zebra
Not sure what you mean by “safer”; a zebra pattern indicates a certain percentage brightness so there’s no doubt about it. If you know the precise reflectance of the disc you might set the zebra bar level in the camcorder to that value and expose to that perhaps.
I light to exposure, meaning if I want a low contrast dark exposure I’ll light that way and shoot that way. Problem with exposing to zebras is you’ll never get a soft candle lit moody shot that way. You’ll end up overexposing and move blacks and mids up in the range. Only good use for it is controlled interviews.
Oh sure, yes it’s not a recipe for “this is how you light everything”. It’s a guide to getting it “normal” and then you can get creative however you want after that ;-)